

You hear scratching in the ceiling at night, find droppings near the kitchen bin, or notice chewed wires and packets. That’s usually the first sign you need an effective trap for rat control before the problem multiplies, because a single pair of rats can produce dozens of offspring in a few months. Bangalore homes, with their gardens, drainage lines, and stored grains, make easy targets for rodents looking for food and shelter.
If you’re wondering how to trap a rat at home, the answer depends on the type of trap you use, where you place it, and how patient you are with the process. Snap traps, cage traps, and glue boards all work differently, and using the wrong one in the wrong spot wastes time and lets the infestation grow.
In this guide, we’ll walk through how to trap rat in house situations step by step, covering the best trap types, bait choices, and placement tricks that actually catch rodents instead of just scaring them off. We’ll also flag when a DIY approach isn’t enough and getting rid of rats permanently with a professional service becomes the smarter, safer choice for your family.
Why diy traps don’t always solve a rat problem
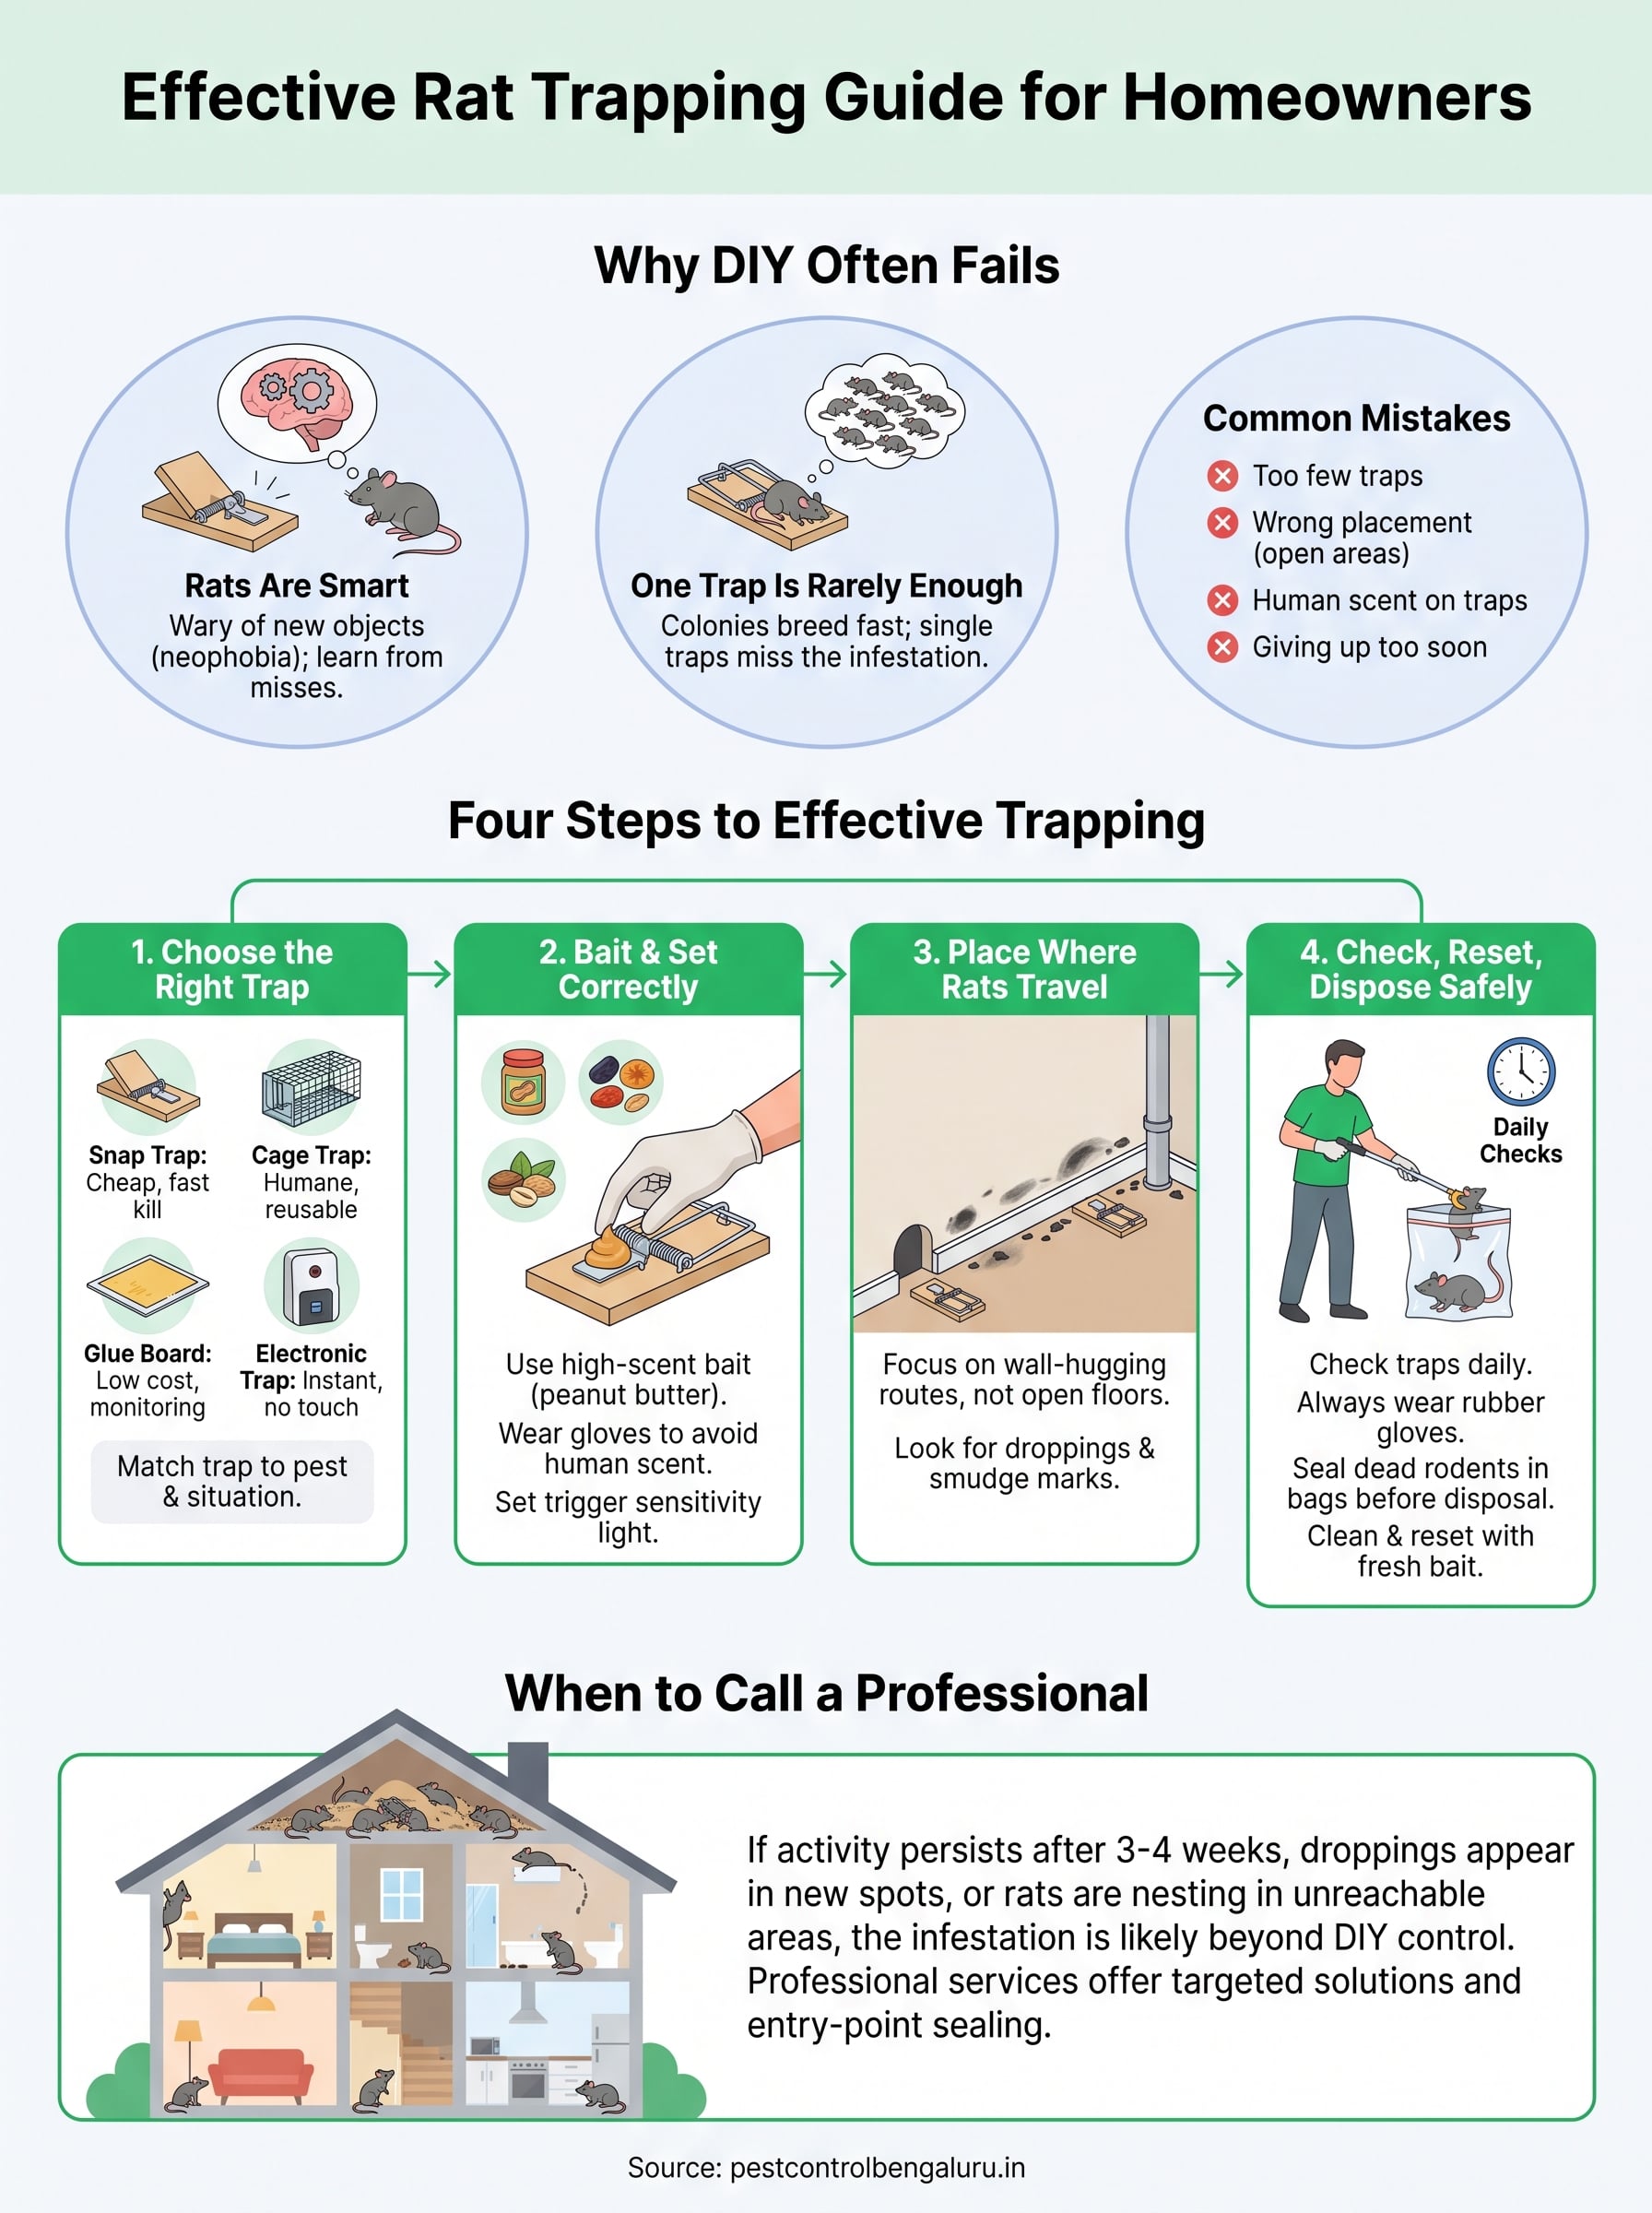
Many homeowners set a couple of traps, catch one rat, and assume the problem is solved. Rats breed fast, though, and a female can have six to eight litters a year, so the one you caught was rarely alone. Learning how to trap a rat in house situations only works if you understand how to get rid of rats at home fast and keep them out, because single traps so often fail against an established colony.
Rats are smarter than most homeowners expect
Rodents are naturally wary of new objects in their environment, a behavior called neophobia. A shiny new trap dropped in the middle of a kitchen floor often gets ignored for days while rats size it up from a distance. Trap-shy rats that survive a near-miss snap trap become even more cautious afterward, sometimes avoiding that entire area of your home permanently. This is one reason a lone trap for rat control rarely clears an infestation on its own.
A single trap catches a single rat; the colony behind the wall keeps growing.
One trap almost never covers the real infestation
Rats travel along the same routes every night, hugging walls and using cover from furniture, pipes, and cabinets. If you only place traps where you spotted a rat once, you’re likely missing the main nest and its feeding paths entirely. Effective control usually needs multiple traps working together, positioned along different runways at the same time, not one trap moved around the house hoping for a hit.
DIY mistakes that let infestations grow
Before you set anything out, it helps to know the common errors that waste a homeowner’s effort:
- Using too few traps for the size of the infestation
- Setting traps in open areas rats avoid
- Handling traps and bait with bare hands, leaving human scent behind
- Giving up after the first rat is caught
- Ignoring entry points like gaps under doors or gaps around pipes
Each of these mistakes buys the remaining rats time to keep breeding, which is exactly why so many households end up calling in professional rat control and learning what to expect once the population grows beyond what a few store-bought traps can handle.
Step 1. Choose the right trap for your rat problem
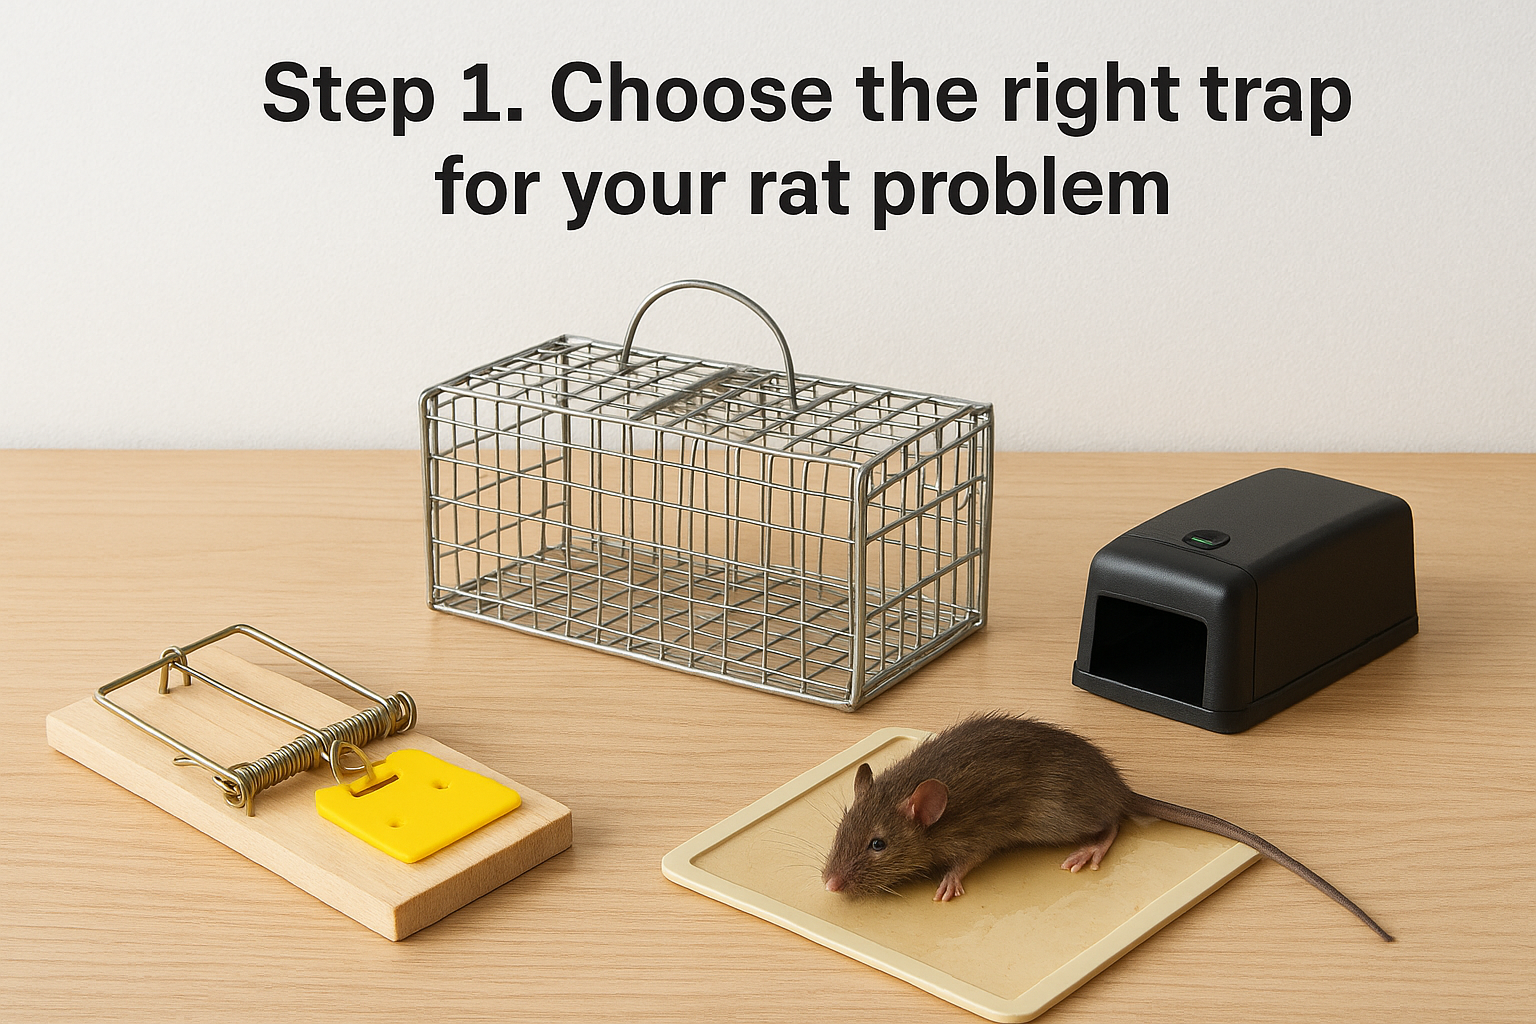
Before you buy anything, figure out what you’re actually dealing with. A house mouse darting along a skirting board needs a different setup than a large sewer rat climbing through a roof void. Picking the right trap for rat control starts with matching the trap to the pest, the location, and how comfortable you are handling a live or dead rodent afterward.
Match the trap type to your situation
Each trap style has strengths and drawbacks worth weighing before you spend money on the wrong one.
| Trap Type | Best For | Pros | Cons |
|---|---|---|---|
| Snap trap | Fast kill, indoor use | Cheap, reusable, quick results | Can injure pets or fingers if mishandled |
| Cage/live trap | Homes wanting no-kill removal | Humane, reusable | Requires daily checks, release planning |
| Glue board | Tight spaces, monitoring activity | Low cost, easy placement | Slow, considered inhumane by some |
| Electronic trap | Indoor, tech-comfortable households | Instant kill, no touching the rat | Higher upfront cost, needs batteries |
The right trap for the wrong spot still fails; match the tool to the pest and the place.
Buy quality over quantity
Cheap plastic snap traps often misfire or fail to trigger with enough force. Spend a little more on metal-bar wooden snap traps or a sturdy cage trap, and buy at least four to six units if you’re dealing with more than one sighting. Skimping here is where most DIY attempts stall out early.
Step 2. Bait and set the trap correctly
Good bait separates a working trap for rat setup from decoration on your kitchen floor. Peanut butter beats cheese almost every time because its strong smell travels farther and rats can’t easily grab a bite and run without triggering the trigger plate. Learning how to trap a rat starts with understanding that rats are cautious feeders, so a small dab works better than a heaping spoonful they can nibble from the edge.
Choose bait rats can’t resist
- Peanut butter (most reliable, strong scent)
- Dried fruit or nuts tied to the trigger
- Small piece of bacon or sausage for outdoor traps
- Nesting material like cotton for cage traps near breeding sites
Set the trigger with the right technique
Handling matters as much as bait choice. Wear gloves when loading and placing traps, since rats can detect human scent on unfamiliar objects and avoid them for days. Set the trigger sensitivity light enough that a light nibble sets it off, and always test snap traps with a pencil before placing them near where pets or children walk.
A trap loaded with the wrong bait, or set with human scent all over it, might as well be empty.
Working through how to trap rat in house situations properly means treating every trap like part of a system, not a one-off gadget. Consistency in bait and setup across multiple traps gives you a far better shot at catching the whole group, not just the boldest rat in the house.
Step 3. Place traps where rats actually travel
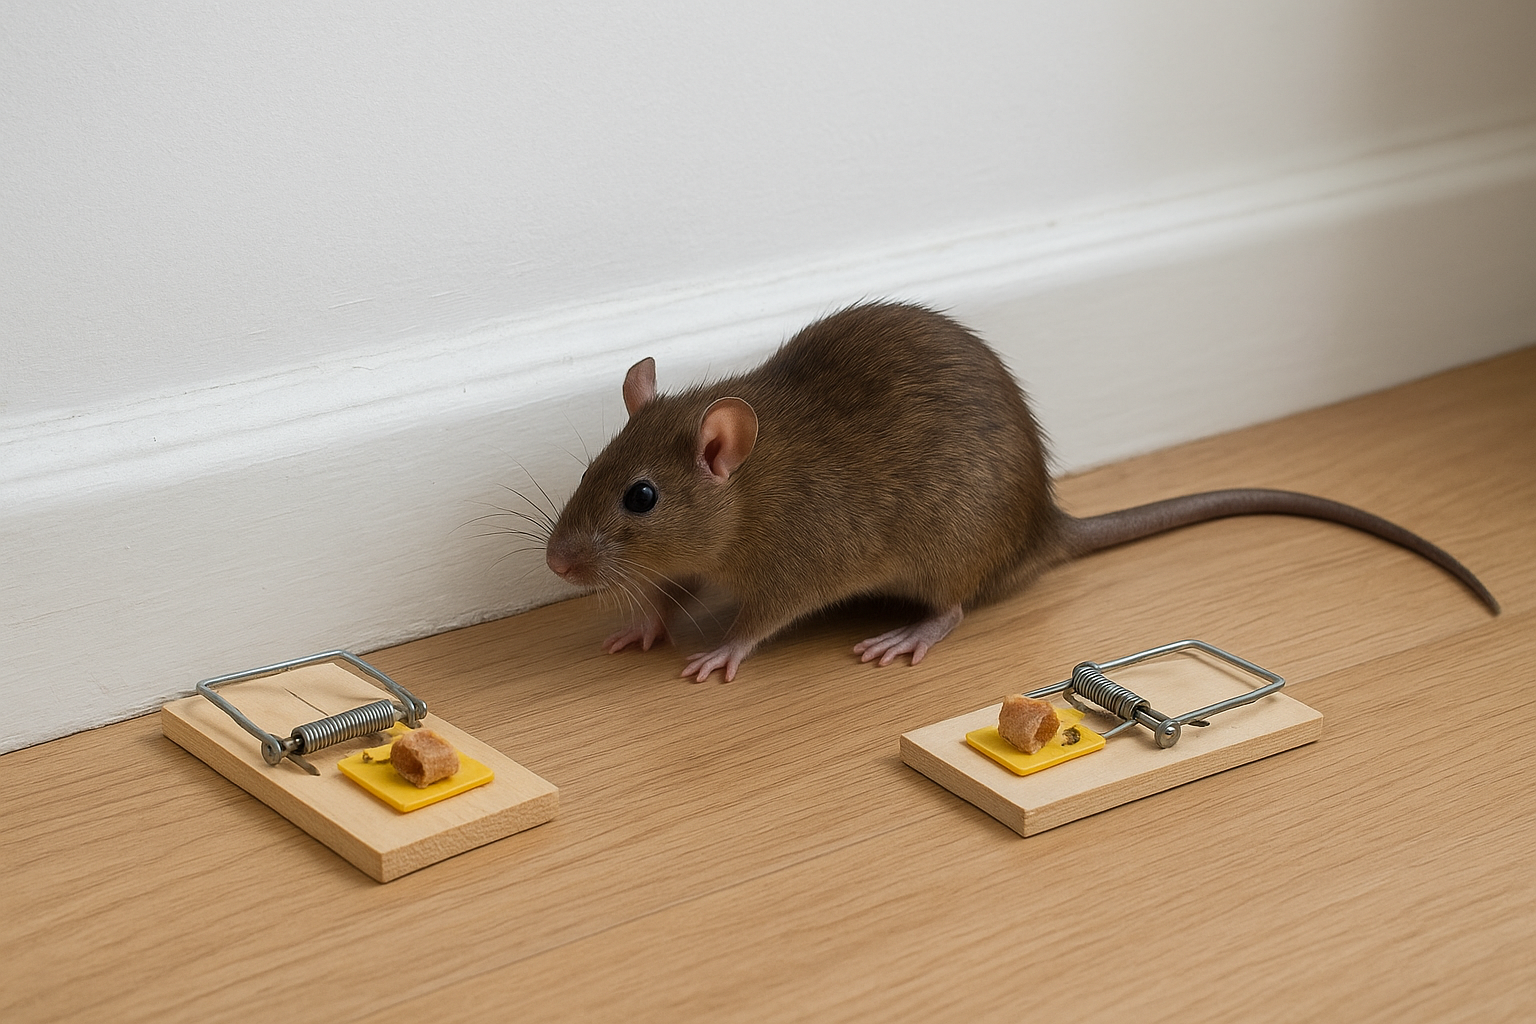
Placement decides whether a trap ever gets touched. Rats stick to wall-hugging routes, moving along skirting boards, behind appliances, and through gaps where pipes enter a wall, because open floor space feels exposed to a prey animal. If you’re serious about how to trap a rat in house corners that actually see activity, forget the middle of the kitchen and focus on the edges where droppings, smudge marks, or gnaw damage already show up.
Read the signs before you place a single trap
Spend a night scanning with a torch, since rats are mostly nocturnal and leave clues you can follow the next morning.
- Dark grease smudges along baseboards and pipes
- Fresh droppings near cabinets, stored grain, or bins
- Gnaw marks on wires, cardboard, or wood
- Faint scratching sounds from ceilings or wall cavities at night
A trap placed where rats never walk will always stay empty, no matter how good the bait is.
Position traps for contact, not convenience
Set traps perpendicular to the wall, with the trigger end touching the baseboard, so a rat running its usual path brushes right into it. Place pairs of traps a few feet apart near suspected nest areas, kitchens, and utility rooms, since doubling up catches rats that jump over a single trap out of caution. Avoid spots with heavy foot traffic from pets or kids, and always check local advice from a source like the CDC on safe trap for rat placement around homes.
Step 4. Check, reset, and dispose of traps safely
Catching a rat is only half the job. Leaving a dead rodent in a trap for even a day invites flies, odor, and secondary pests like maggots, so daily checks aren’t optional if you want the process to stay hygienic. Morning and evening rounds work best, since that’s when most activity happens and traps are most likely to have sprung overnight.
Check traps on a fixed schedule
Walk your trap for rat placement route every day at the same times. A trap that sits untouched for a week probably needs to move to a spot with fresher droppings or gnaw marks nearby, and if nothing changes it may be worth comparing rodent control services and prices instead.
Dispose of catches without touching anything bare-handed
Always wear rubber gloves before handling a trap, since rodents carry pathogens, including leptospirosis spread by rats, that can travel through direct contact or dust from droppings.
Never touch a dead rat with bare hands; the risk isn’t worth the shortcut.
- Slide the rat into a sealed plastic bag without shaking the trap
- Spray the trap and surrounding area with disinfectant before resetting
- Wash gloves and hands thoroughly after disposal
- Discard bagged rodents in an outdoor bin, away from doors and windows
- Reset with fresh bait each time; old bait dries out and loses scent
Going forward, resist the urge to remove traps after one catch. Rotate positions every few days if nothing triggers, since rats reroute quickly once they sense danger along a familiar path, and the CDC recommends disinfecting cleanup areas thoroughly to avoid exposure to rodent-borne disease.
Frequently asked questions
How long does it take to trap a rat?
With the right trap, bait, and placement along an active runway, you can often catch a rat within a few days. If three to four weeks pass without a drop in activity, the infestation is likely bigger than a few traps can handle.
What is the best bait for a rat trap?
Peanut butter works better than cheese for most households because its strong smell travels farther and rats can’t easily grab a bite without triggering the trap. Dried fruit, nuts, or a small piece of bacon are good alternatives for outdoor traps.
Where should I place rat traps in my house?
Place traps along wall-hugging routes such as skirting boards, behind appliances, and near pipe gaps, not in open floor space. Look for grease smudges, droppings, or gnaw marks to confirm where rats are actually travelling before setting a trap.
How many traps do I need to catch a rat?
One trap rarely covers an entire infestation. Use at least four to six traps positioned along different runways at the same time, since rats travel in groups and a single trap only catches one animal at a time.
When should I call a professional instead of trapping rats myself?
If you’re catching one rat a week and still hearing scratching in the walls, or droppings keep appearing in new spots despite steady trapping, the colony is likely nesting somewhere DIY traps can’t reach, and it’s time to call a pest control service.
When it’s time to call a pest control expert
Some infestations outgrow what a trap for rat setup can handle. If you’re catching one rat a week and still hearing scratching in the walls, or if droppings keep appearing in fresh spots despite steady trapping, the colony behind your walls is likely bigger than a DIY effort can clear. Nesting rats inside insulation, false ceilings, or wall cavities often stay out of reach entirely, no matter how well you place traps.
Getting how to trap a rat right teaches you a lot about rodent behavior, but persistence beyond three or four weeks without a real drop in activity usually signals a job for trained technicians with baiting systems and entry-point sealing tools you won’t find at a hardware store. A to Z Pest Solutions has handled Bangalore’s rodent problems since 1993, and our team can inspect, treat, and rodent-proof your property properly. Reach out on WhatsApp and get a rat-free home without the guesswork.