
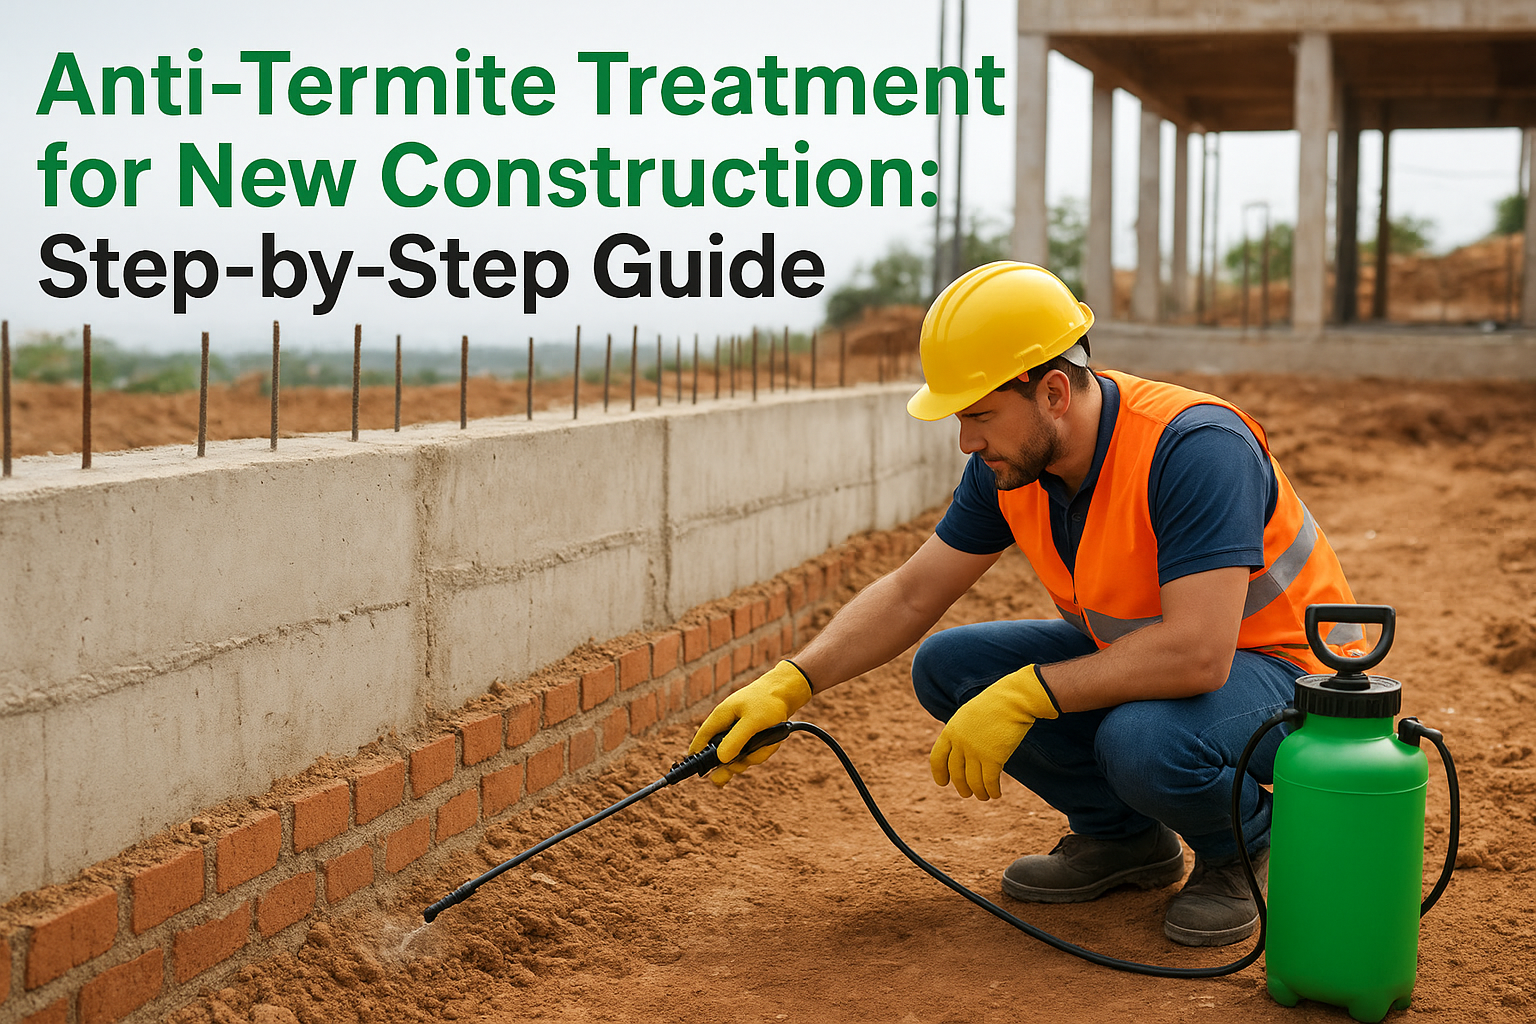
If you’re building a home or commercial property in Bangalore, anti termite treatment for new construction is one decision you cannot postpone. Termites work underground and inside walls long before you spot any damage, and by the time swarms appear, the foundation and woodwork may already be compromised. Getting the treatment right at the construction stage saves you years of repair costs and repeated pest control visits later.
This guide walks you through exactly how pre-construction termite treatment works, from soil treatment timing during excavation to the chemicals applied at the plinth, foundation, and around plumbing lines. You’ll learn which stages of construction need treatment, how long the process takes, and what IS 6313 standards (the Indian code for termite control) actually require builders to follow.
We’ve applied these methods across hundreds of Bangalore properties since 1993, so this isn’t theory. You’ll get a clear, step-by-step breakdown of the entire process, the treatment chemicals commonly used, dosage and application depth, and how to verify the job was done correctly before you move in or hand over the keys.
Why Anti Termite Treatment for New Construction Is Essential
Bangalore’s red soil and monsoon moisture create ideal conditions for subterranean termites, the species responsible for almost all structural damage in South Indian homes. These termites build mud tunnels through soil and concrete cracks, reaching wooden doors, window frames, and even electrical conduits without ever surfacing where you’d notice them. Termite proofing for new buildings works because it blocks this access before a single brick goes up, rather than fighting an infestation that’s already spread through your walls.
The cost math favors prevention
Treating soil and foundations during construction costs a fraction of what post-construction remediation runs. Once termites establish colonies inside load-bearing wood or door frames, you’re looking at drilling, injecting chemicals into finished walls, and sometimes replacing structural timber entirely. A property owner who skips pre-construction termite treatment often pays three to four times more within the first decade of occupancy, plus the disruption of ripping into finished flooring and cabinetry to fix a problem that a barrier treatment would have stopped outright.
Termite protection is cheapest exactly once: before the concrete sets.
It’s a code requirement, not an optional extra
The Bureau of Indian Standards lays out termite control specifications under IS 6313, covering chemical barriers, dosage rates, and treatment depth for different soil types. Builders and contractors in Bangalore are expected to follow this code, and many banks and municipal bodies now ask for treatment certificates before final approvals. Skipping this step doesn’t just risk termites, it can complicate your building’s compliance paperwork later. Reputable pest control companies document every stage against these standards, giving you a verifiable record rather than a verbal assurance.
Step 1. Treat the soil before laying the foundation
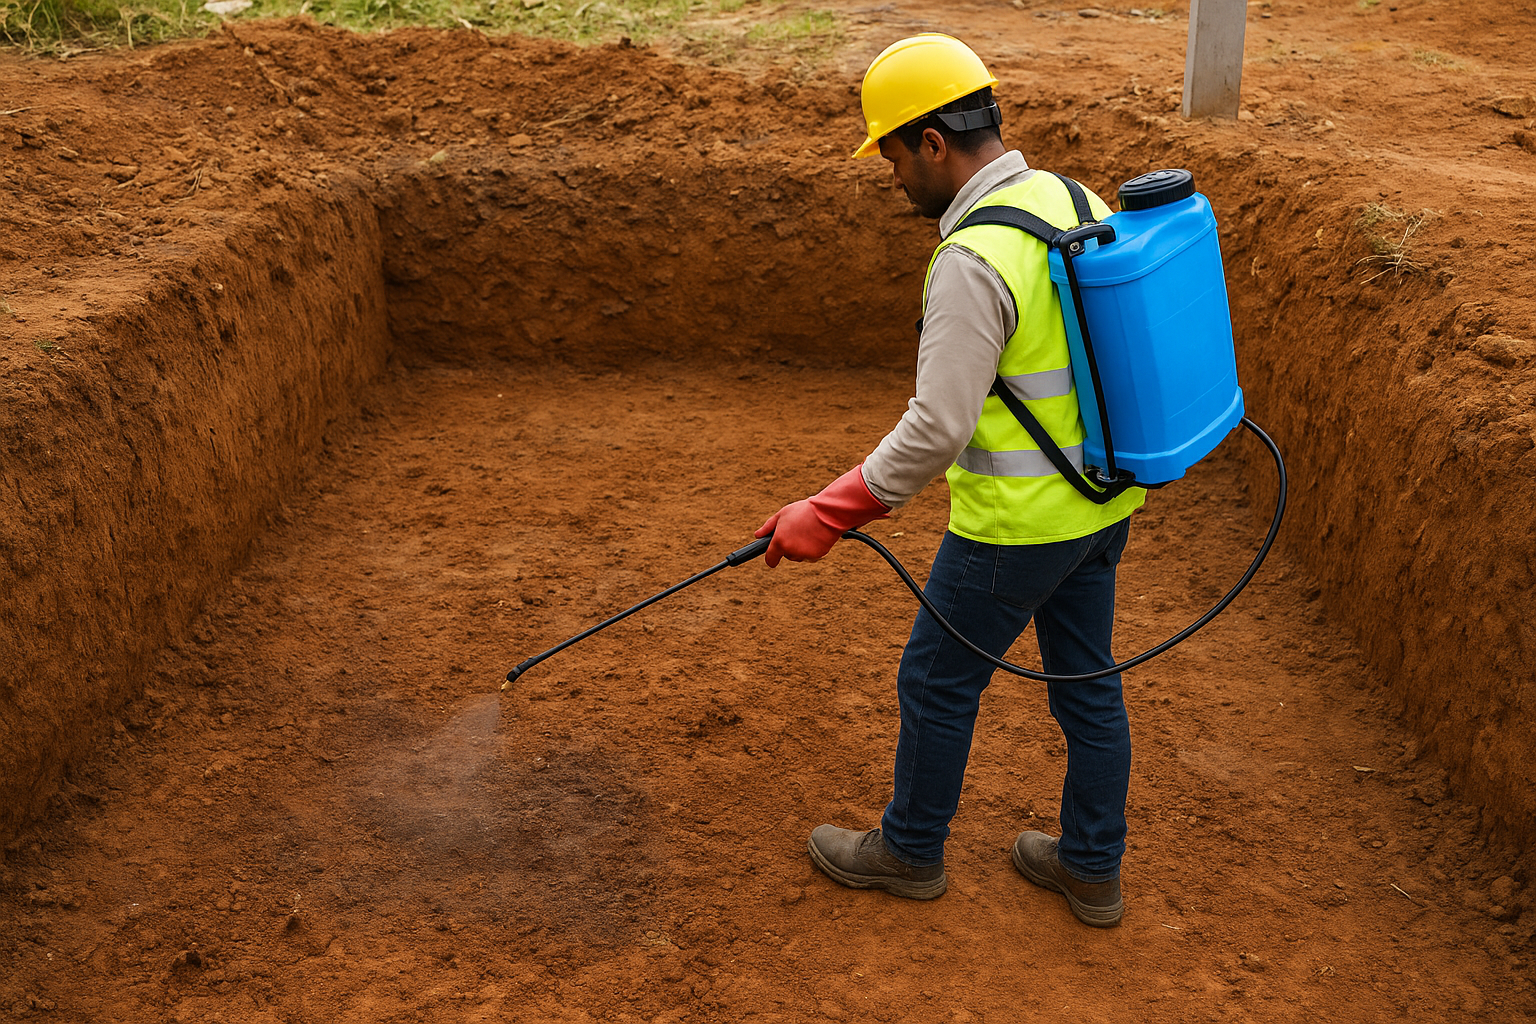
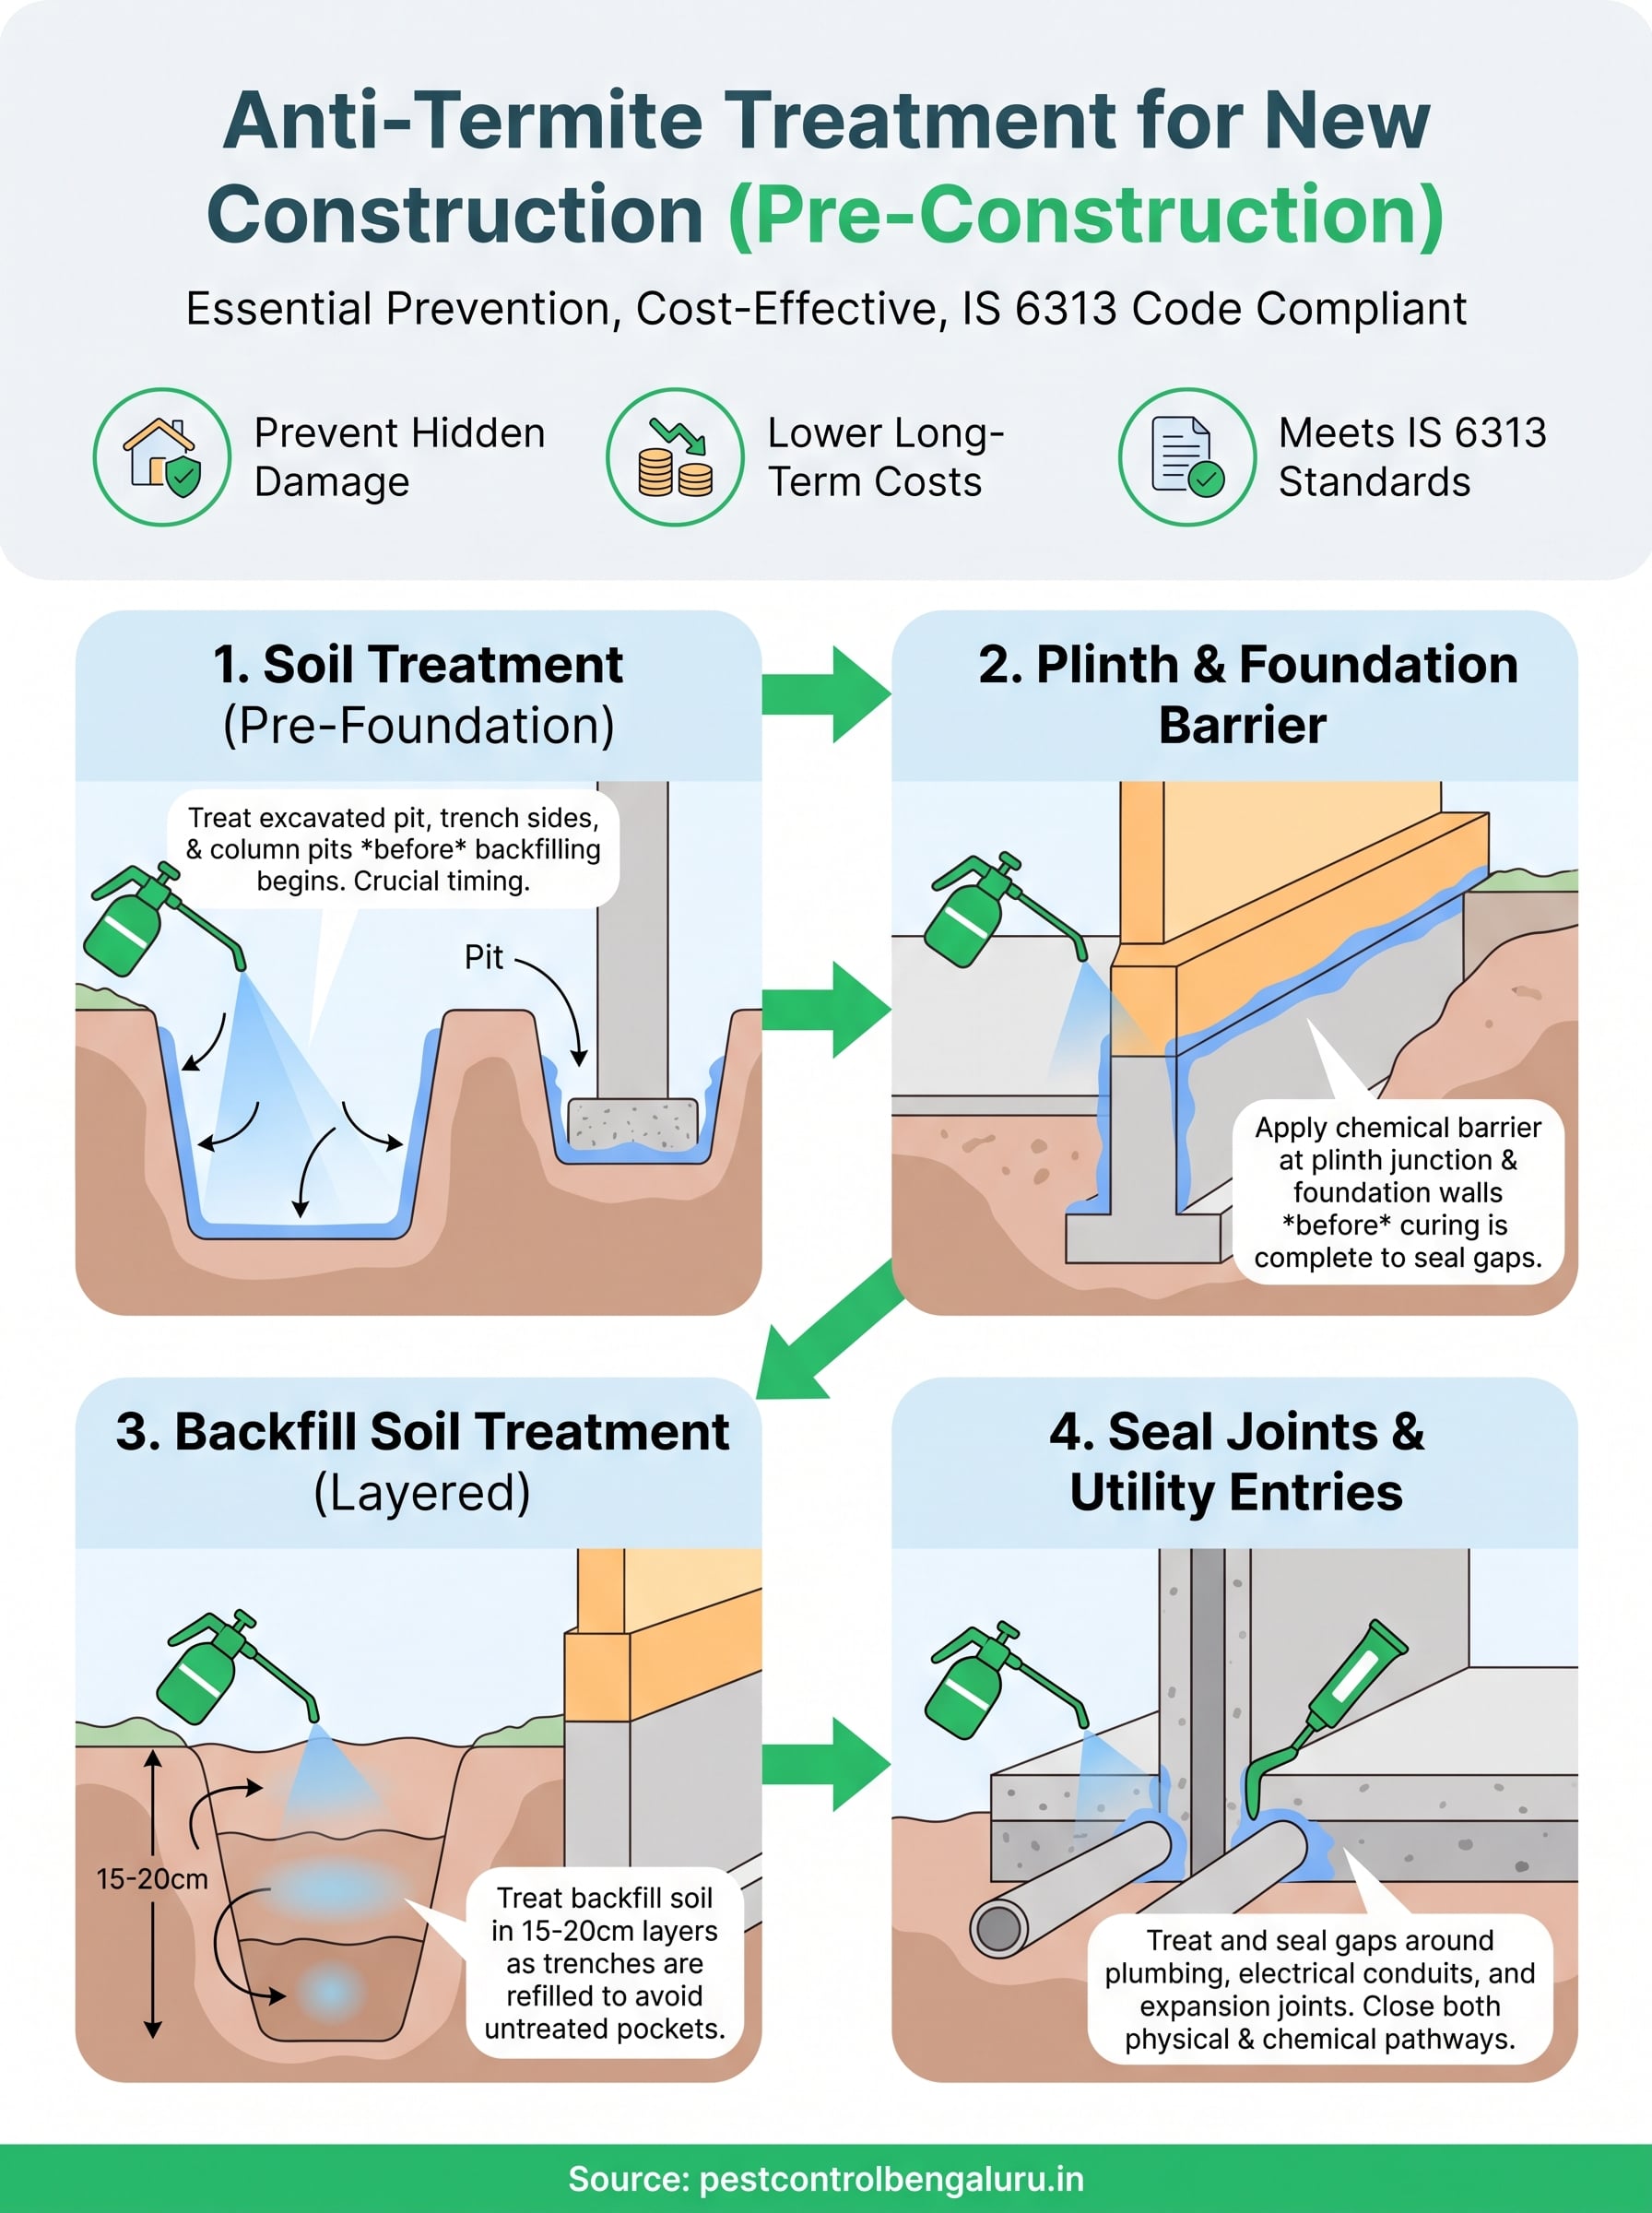
Before the first foundation trench is dug, the excavated pit and its surrounding soil need direct chemical treatment. This is the single most important stage of anti termite treatment for new construction, because once concrete covers the ground, you lose the chance to treat the earth directly beneath your building. Technicians spray the treatment on the leveled soil at the base of the excavation, along the sides of the trenches, and around any columns or pillar pits before backfilling begins.
Treat the soil now, or you’re building a termite highway straight into your foundation.
What gets applied and how
Most Bangalore contractors use chlorpyrifos or imidacloprid-based emulsions, diluted and applied at the dosage rate specified in IS 6313. The application typically includes:
- Spraying the bottom surface of the excavated pit
- Treating the vertical sides of foundation trenches up to the ground level
- Applying around column pits and pier holes separately
- Allowing the treated soil to absorb the chemical before any backfilling starts
This groundwork forms the base layer of your termite proofing for new buildings strategy, with three more treatment stages still to come.
Step 2. Apply chemical barrier to foundation and plinth
Once the foundation masonry rises above ground level, you need a second treatment layer at the plinth stage, the next milestone in your anti termite treatment for new construction plan. This creates a continuous chemical barrier running along the foundation walls, sealing off the gap between the masonry and the earth where termites would otherwise squeeze through. Skipping this step leaves a narrow but exploitable path straight into your structure, even if the soil treatment below was done correctly.
Where the barrier goes
Technicians apply the treatment along the outer and inner faces of the foundation, right where the plinth beam meets the masonry. Key points covered include:
- The junction between foundation walls and the plinth beam
- Vertical surfaces of the foundation up to ground level
- Areas around pillar bases within the plinth
A gap in the plinth barrier is all it takes for termites to bypass every other treatment stage.
Why this stage can’t be rushed
Contractors sometimes pour the plinth beam before the barrier fully cures, which weakens the seal. Insist on proper drying time here, since this foundation-level treatment is what stops termites from climbing unseen between your soil treatment and the structure above.
Step 3. Treat backfill soil around the foundation
After the plinth barrier cures, workers refill the trenches with excavated earth, and this backfill soil needs its own treatment as it goes back in. Skip this stage and you create a loose, untreated pocket right against your foundation walls, exactly where termites look for an easy entry point. Backfill soil treatment closes that gap as part of a thorough anti termite treatment for new construction, and it has to happen in layers, not as a single dump-and-spray job.
How the layered application works
Technicians treat the soil in stages as masons refill the trench, rather than spraying once the pit is completely closed:
- Backfill soil is added in layers of roughly 15 to 20 cm
- Each layer gets sprayed with the diluted chemical solution before the next layer goes on top
- The process repeats until the trench reaches ground level
- Soil around the plinth’s outer edge gets special attention since it sits closest to the barrier line
One untreated layer of backfill is enough to undo three earlier stages of protection.
This layered approach matters more than most homeowners realize. A single surface spray after backfilling looks the same to an untrained eye, but it leaves deeper soil completely exposed to termite colonies working their way up from below.
Step 4. Seal expansion joints and utility entry points
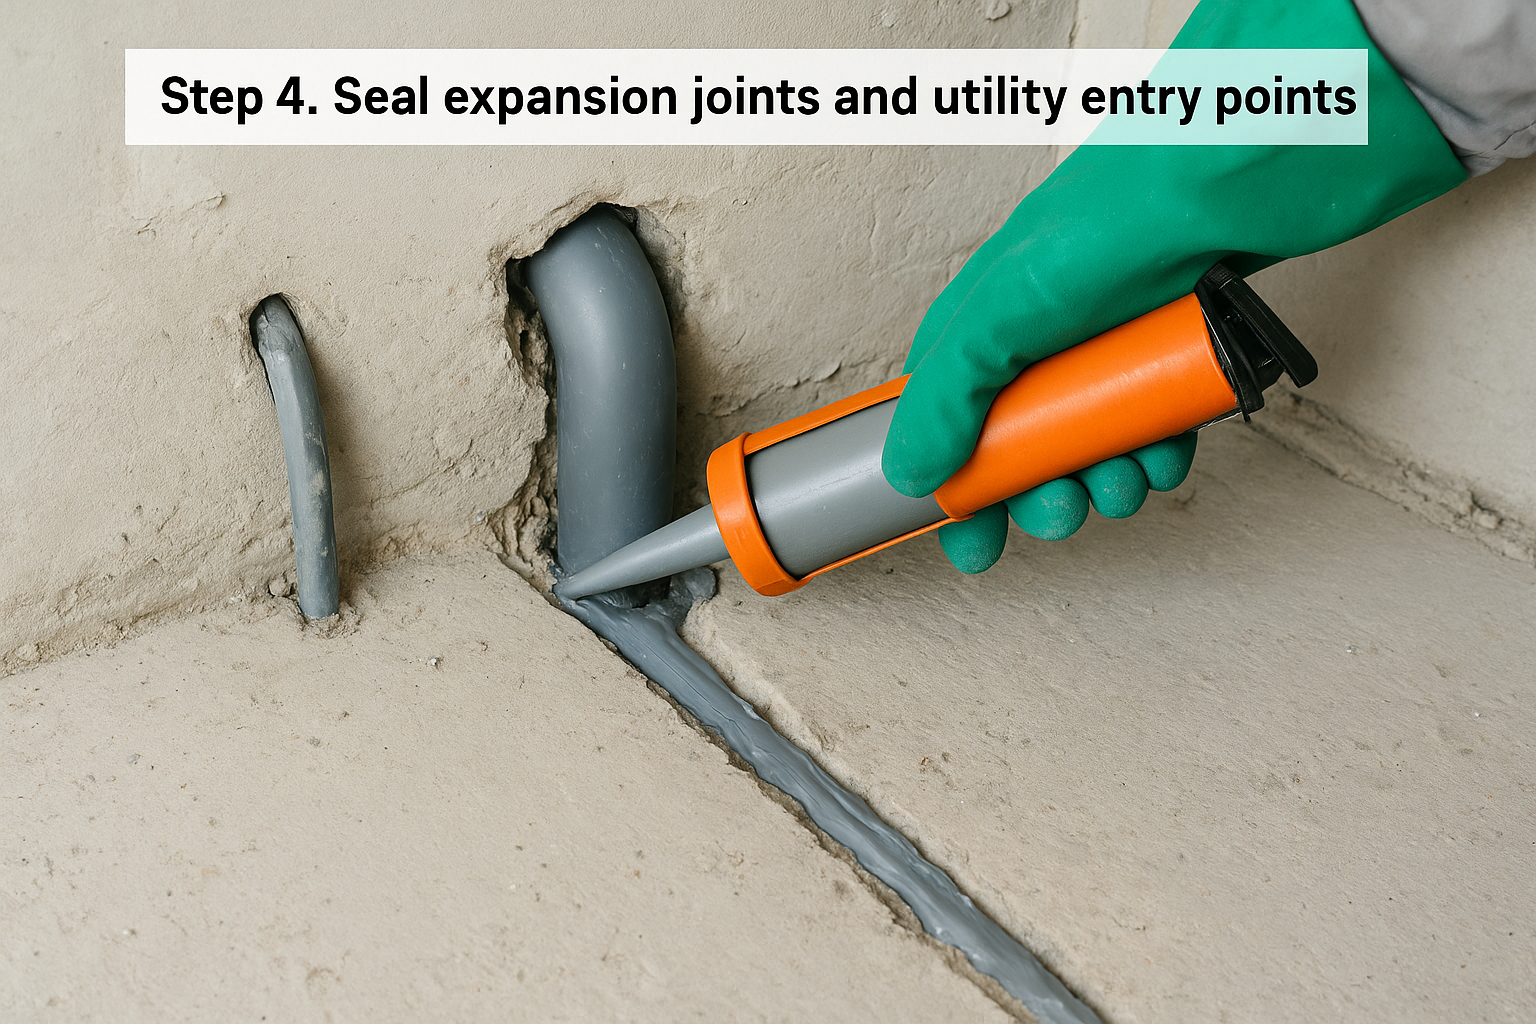
Once the main structure is up, termites still have one more route in: the small gaps around plumbing lines, electrical conduits, and expansion joints that run through the slab and walls. These utility entry points are easy to overlook because they’re often hidden behind fittings or buried in the slab, but termites exploit exactly these cracks to bypass the soil and plinth barriers your anti termite treatment for new construction already built.
Where technicians focus this stage
The final treatment pass targets every point where pipes, cables, or joints break the continuity of the chemical barrier:
- Gaps around water supply and drainage pipes entering the slab
- Electrical conduit openings through the foundation
- Expansion joints between adjoining structures
- Junctions where the slab meets bathroom or kitchen plumbing shafts
Termites don’t need a doorway, a hairline gap around a pipe is enough.
Sealing, not just spraying
Technicians apply the chemical solution around these openings and then seal them with treated soil or approved sealant, closing the physical gap along with the chemical one. Skipping this step leaves your otherwise complete pre-construction termite treatment with a weak point that surfaces years later, usually inside a bathroom wall or under a kitchen sink where nobody’s looking.
Keeping your new home termite-free for years to come
Four treatment stages, soil, plinth, backfill, and utility entry points, work together as one continuous chemical barrier. Miss any single stage and termites will find that gap eventually, often years after you’ve moved in and forgotten construction ever happened. Getting this right during construction is far cheaper and less disruptive than retrofitting protection into finished walls later.
Getting anti termite treatment for new construction done correctly isn’t something to leave to chance or a rushed contractor timeline. Insist on documentation at every stage, ask which chemicals were used at what dosage, and confirm the work matches IS 6313 requirements before you sign off on any stage of construction.
If you’re planning a build in Bangalore or want a qualified team to inspect work already done, talk to our termite treatment specialists at A to Z Pest Solutions. We’ve handled pre-construction termite protection since 1993, and we’re happy to walk your site before the next slab gets poured.
Frequently asked questions
When should anti-termite treatment start during construction?
Treatment starts before the foundation is even laid, at the soil and excavation stage. Waiting until the structure is up means the earliest and most effective barrier, the one beneath your foundation, can no longer be applied.
How long does anti termite treatment for new construction take to complete?
It isn’t a single visit. The four stages, soil, plinth, backfill, and utility entry points, are spread across the construction timeline, so treatment continues in step with excavation, masonry, and finishing work rather than happening all at once.
Which chemicals are used, and are they safe?
Most Bangalore contractors use chlorpyrifos or imidacloprid-based emulsions, diluted and applied at the dosage IS 6313 specifies. Applied correctly by trained technicians, these are standard, code-compliant treatments used across residential and commercial builds.
Does IS 6313 compliance matter if my bank doesn’t ask for it?
Yes. Even without a bank or municipal requirement, following IS 6313 gives you documented proof of proper dosage, depth, and coverage, protection that matters far more than the paperwork itself if termites ever appear.
Can anti-termite treatment be added after construction is finished?
Yes, but it costs three to four times more and involves drilling into finished floors and walls to inject chemicals, rather than treating open soil and trenches. Post-construction treatment is a repair, not a preventive measure.