
If you are about to build a home in Bangalore, termite treatment before construction is the one step you cannot afford to skip. Termites don’t wait for the paint to dry. They move in through untreated soil, gaps in the foundation, and gaps around plumbing lines, and once the structure is up, fixing an infestation means breaking floors and walls to reach the colony. Doing it before construction costs a fraction of that and protects the building for decades.
This guide answers the practical question builders and homeowners ask us most: how and when do you actually apply anti-termite treatment to soil and foundations during construction, not after? We walk through the exact stages, from the first excavation to the final backfilling, where chemical barriers need to go in, and why timing matters as much as the chemical itself.
You’ll learn what pre-construction treatment involves, which IS standards it follows, how it differs from post-construction fixes, and what mistakes cause the most callbacks in Bangalore’s soil and climate conditions. We’ve handled termite protection for residential and commercial sites across the city since 1993, so this is the same process we recommend to our own clients before they pour a single foundation.
Why treat the soil before you build
Termites build their colonies underground, often 6 to 10 feet deep, and travel through mud tunnels to reach wood, cellulose, and moisture inside a structure. Soil treatment creates a chemical barrier that blocks this path before the first brick goes up. Once the slab and walls are in place, that barrier is gone as an option, and you’re left chasing termites through walls, wiring conduits, and door frames instead of stopping them at the source.
How Bangalore’s soil and climate raise the risk
Bangalore’s red laterite soil retains moisture well, and with the city’s monsoon rainfall between June and September, the ground stays damp for months at a stretch. That moisture is exactly what termite colonies need to thrive. Add in the amount of new construction happening across areas like Whitefield, Sarjapur, and Electronic City, where soil is freshly disturbed and often mixed with construction debris, and you get ideal conditions for subterranean termites to establish themselves early. Pre-construction termite treatment accounts for this by treating the soil at multiple stages, not just once before the foundation is poured.
Why post-construction treatment costs more and works less
Once a building is occupied, treating termites means drilling into floors, injecting chemicals into walls, and disrupting daily life for days. It also treats symptoms, not the root access point, so colonies can return through untreated gaps you can’t see anymore.
| Factor | Pre-Construction Treatment | Post-Construction Treatment |
|---|---|---|
| Access to soil and foundation | Full, direct access | Limited, requires drilling |
| Average cost | Lower, one-time treatment | 3 to 5 times higher over time |
| Structural disruption | None | Floors, walls, skirting affected |
| Protection duration | 5 to 10 years with a barrier | Shorter, needs frequent follow-up |
| Effectiveness | Blocks entry before build-up | Reactive, chases existing colonies |
Treat the soil once, before the slab goes down, and you avoid drilling into your own walls for the next decade.
This is why every credible termite management standard in India, including the guidance under IS 6313, treats pre-construction work as the primary defense, with post-construction chemical treatment listed as a backup for buildings that missed the first window. If you’re planning new construction anywhere in Bangalore, this is the stage where the real protection happens.
Step 1. Inspect the site and soil conditions
Before any termiticide touches the ground, walk the plot with a clear checklist. Site inspection tells you what you’re actually dealing with, since red laterite soil in Whitefield behaves differently than the rockier patches you find in parts of Electronic City, and that affects how deep and how much chemical you need.
Start with the basics and work outward:
- Check for existing termite activity. Look for mud tunnels on boundary walls, old tree stumps, or timber left on site from previous structures.
- Test soil moisture and composition. Damp, clay-heavy soil holds termiticide better but also holds more moisture, which attracts colonies faster if the barrier breaks down.
- Map nearby vegetation and tree roots. Roots running under the foundation line become termite highways if left untreated.
- Note water drainage patterns. Standing water near the plot boundary during monsoon season is a red flag for future infestation risk.
- Identify buried debris. Old wooden formwork, cardboard, or organic waste left in the soil gives termites a food source right under your slab.
A thorough site inspection before treatment costs you an hour. Skipping it costs you a foundation repair five years later.
Once you’ve documented these conditions, you can calculate the right termiticide dosage and decide whether the site needs extra barrier layers, particularly in low-lying plots where water tends to collect. This step also gives your contractor a baseline to compare against if a termite problem shows up years later, since you’ll have a clear record of soil conditions at the time of treatment.
Step 2. Apply termiticide to the soil before the foundation
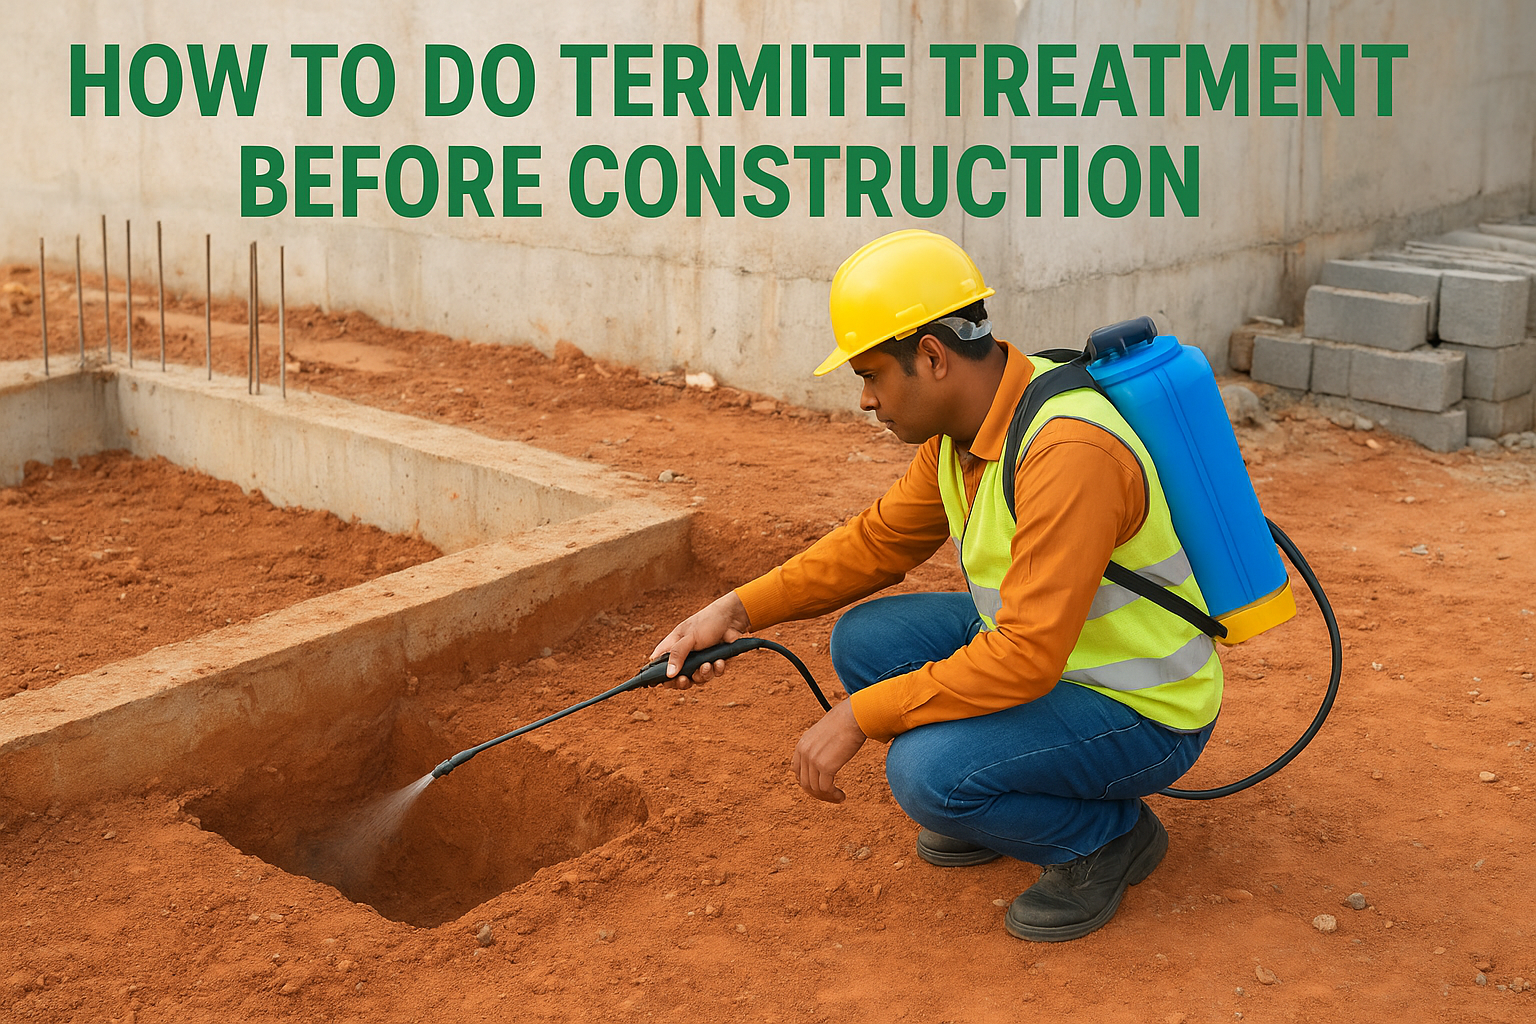
Once the excavation for footings and trenches is done, and before any concrete goes in, you treat the exposed soil directly. This is the first and most important chemical barrier in the entire process, since it sits right below where the structure will stand for decades. Termiticide application at this stage targets the bottom and sides of the excavated pits and trenches, soaking the soil so termites cannot tunnel upward toward the building.
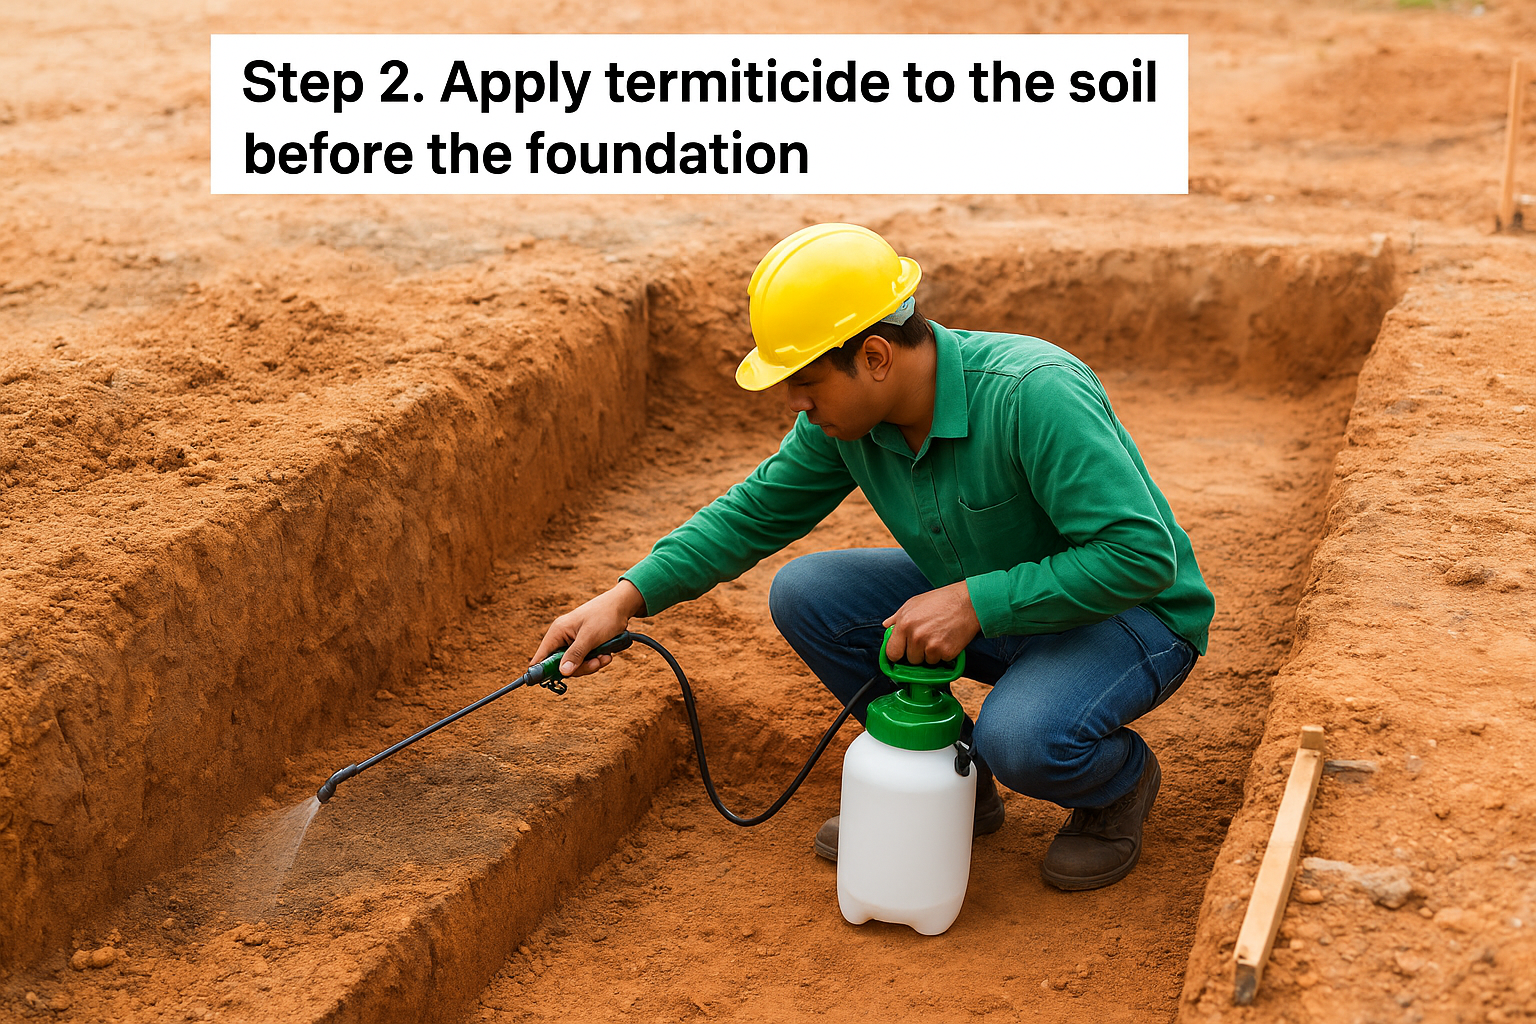
Work through the excavation in this order:
- Treat the bottom surface first. Spray or pour the termiticide evenly across the base of the pit or trench at the rate specified for your soil type, usually 5 liters per square meter for normal soil.
- Treat the sides next. Apply the chemical to the vertical faces of the excavation up to a height of about 300mm from the bottom, since termites travel along these edges too.
- Repeat for every column pit and trench, not just the main foundation line. Isolated footings are common weak points if skipped.
- Avoid treating during or right after heavy rain, since runoff dilutes the barrier before it sets.
Skip even one column pit during this stage, and that’s the exact spot where termites will find their way in years later.
We generally use chlorpyrifos or a synthetic pyrethroid-based termiticide at this stage, matching the product and dosage to the standards laid out in India’s IS 6313 (Part 2) code for pre-construction anti-termite treatment. Let the treated soil sit undisturbed for a few hours before backfilling begins, so the chemical binds properly instead of shifting with loose earth.
Step 3. Treat the foundation, plinth, and fill material
Once the footing treatment has set and backfilling starts, the job isn’t done. Foundation treatment continues in layers as the soil rises back to plinth level, because a single barrier at the bottom of the trench won’t stop termites that find a gap higher up along the wall. Each layer of backfill needs its own dose of termiticide before the next layer goes in, so you end up with a continuous chemical shield rather than one thin line.
Follow this sequence as the structure rises:
- Treat backfill in stages. After every 300mm of soil is filled and compacted around the foundation, spray the surface again before adding the next layer.
- Treat the plinth area separately. Once the plinth fill (usually sand, rubble, or murrum) is in place, soak the top surface before the flooring or slab is laid over it.
- Treat the junction between foundation walls and plinth fill. This joint is a common weak point where termites bridge from soil to structure.
- Cover expansion joints and pipe conduits passing through the foundation, since these gaps are often missed and become easy entry routes.
A foundation treated in layers, not just once at the base, is what actually keeps termites out for the long run.
For most residential plots in Bangalore, this staged approach adds barely a day to the construction schedule but makes the difference between a termite-free foundation and one that needs repair work within five years. Skipping the plinth-level treatment to save time is one of the most common shortcuts we see contractors take, and it’s almost always the reason termites show up later despite the initial soil treatment being done correctly.
Step 4. Seal entry points and plan for drainage
Even a well-treated foundation fails if you leave gaps for termites to bypass the chemical barrier entirely. Entry point sealing covers every spot where pipes, cables, or expansion joints pass through the foundation and plinth, since these are the cracks termites exploit once the main barrier is in place. Drainage planning matters just as much, because standing water near the foundation keeps the soil moist long after construction ends, and that moisture pulls termite colonies straight back toward your building.
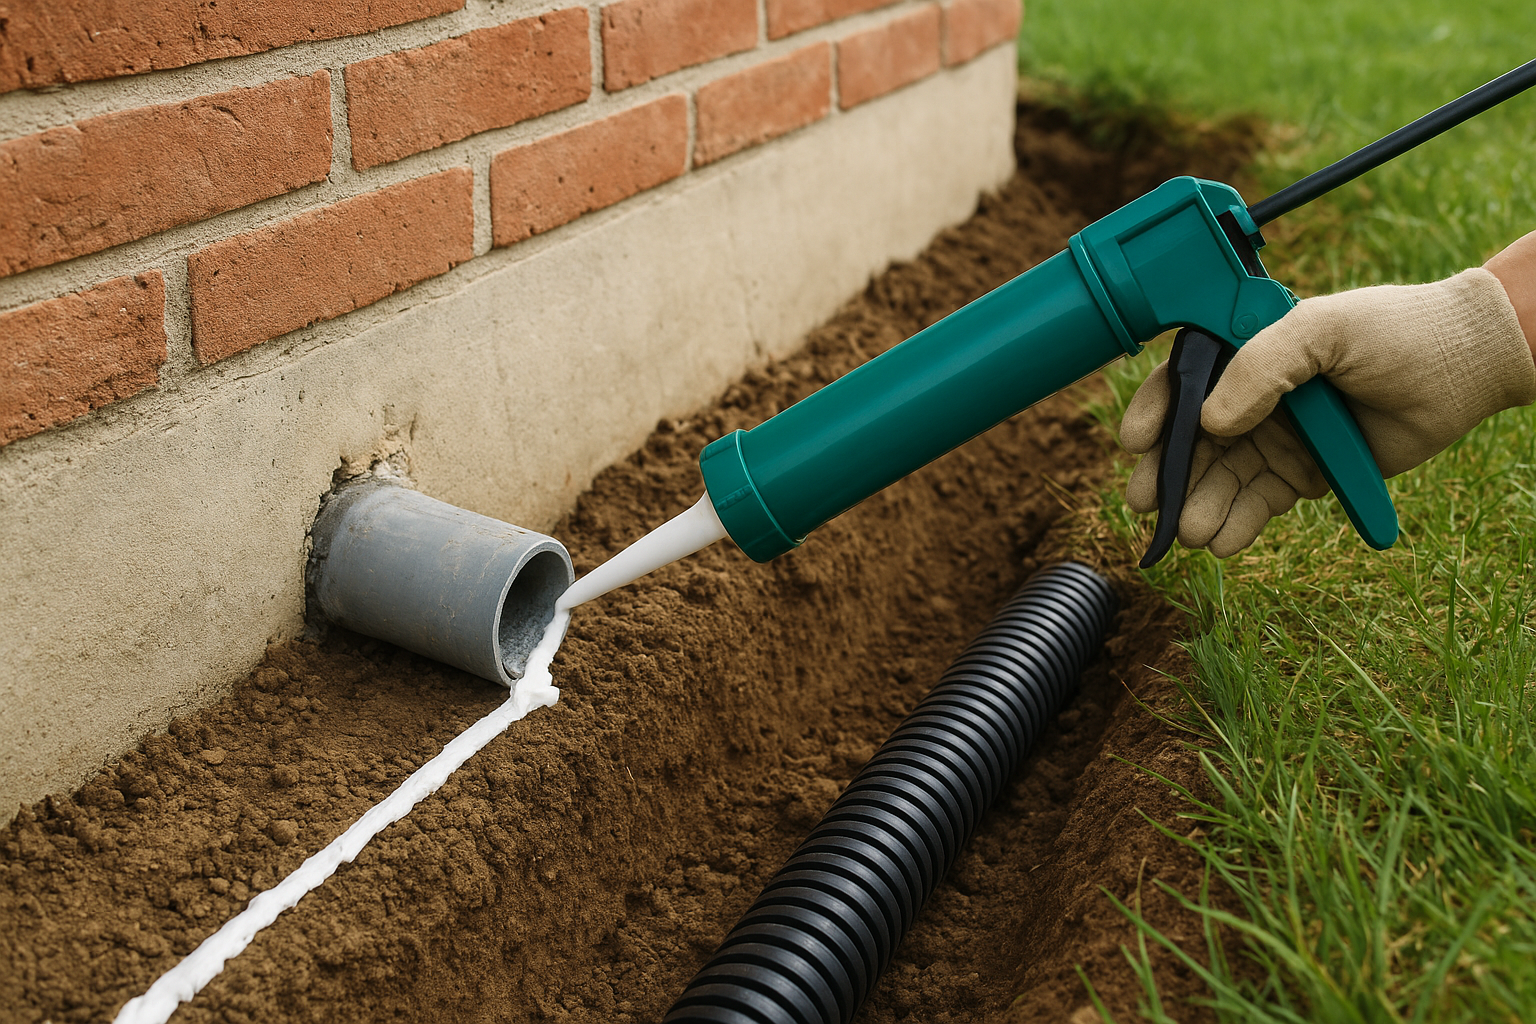
Close the gaps termites use most
Work through the structure methodically before flooring goes down:
- Seal around pipe conduits with a termiticide-treated sealant or cement mortar mix where plumbing and electrical lines cross the foundation wall.
- Fill expansion joints with a flexible, treated sealant rather than leaving them open, since untreated gaps here are a direct route into the slab.
- Check door frame junctions, particularly wooden frames set directly into masonry, and treat the contact points before fixing them permanently.
- Inspect utility ducts and cable trenches running under the plinth, since these are often added late in construction and skipped during the main treatment.
A single unsealed pipe gap can undo weeks of proper soil treatment, so check every conduit before the flooring goes down.
Grade the site to keep water moving away
Set the finished ground level so water slopes away from the foundation on all sides, ideally with a fall of at least 1 in 50 toward drains or the plot boundary. Avoid flower beds or lawns built directly against the plinth wall, since regular watering there recreates the damp conditions termite treatment before construction is meant to prevent in the first place.
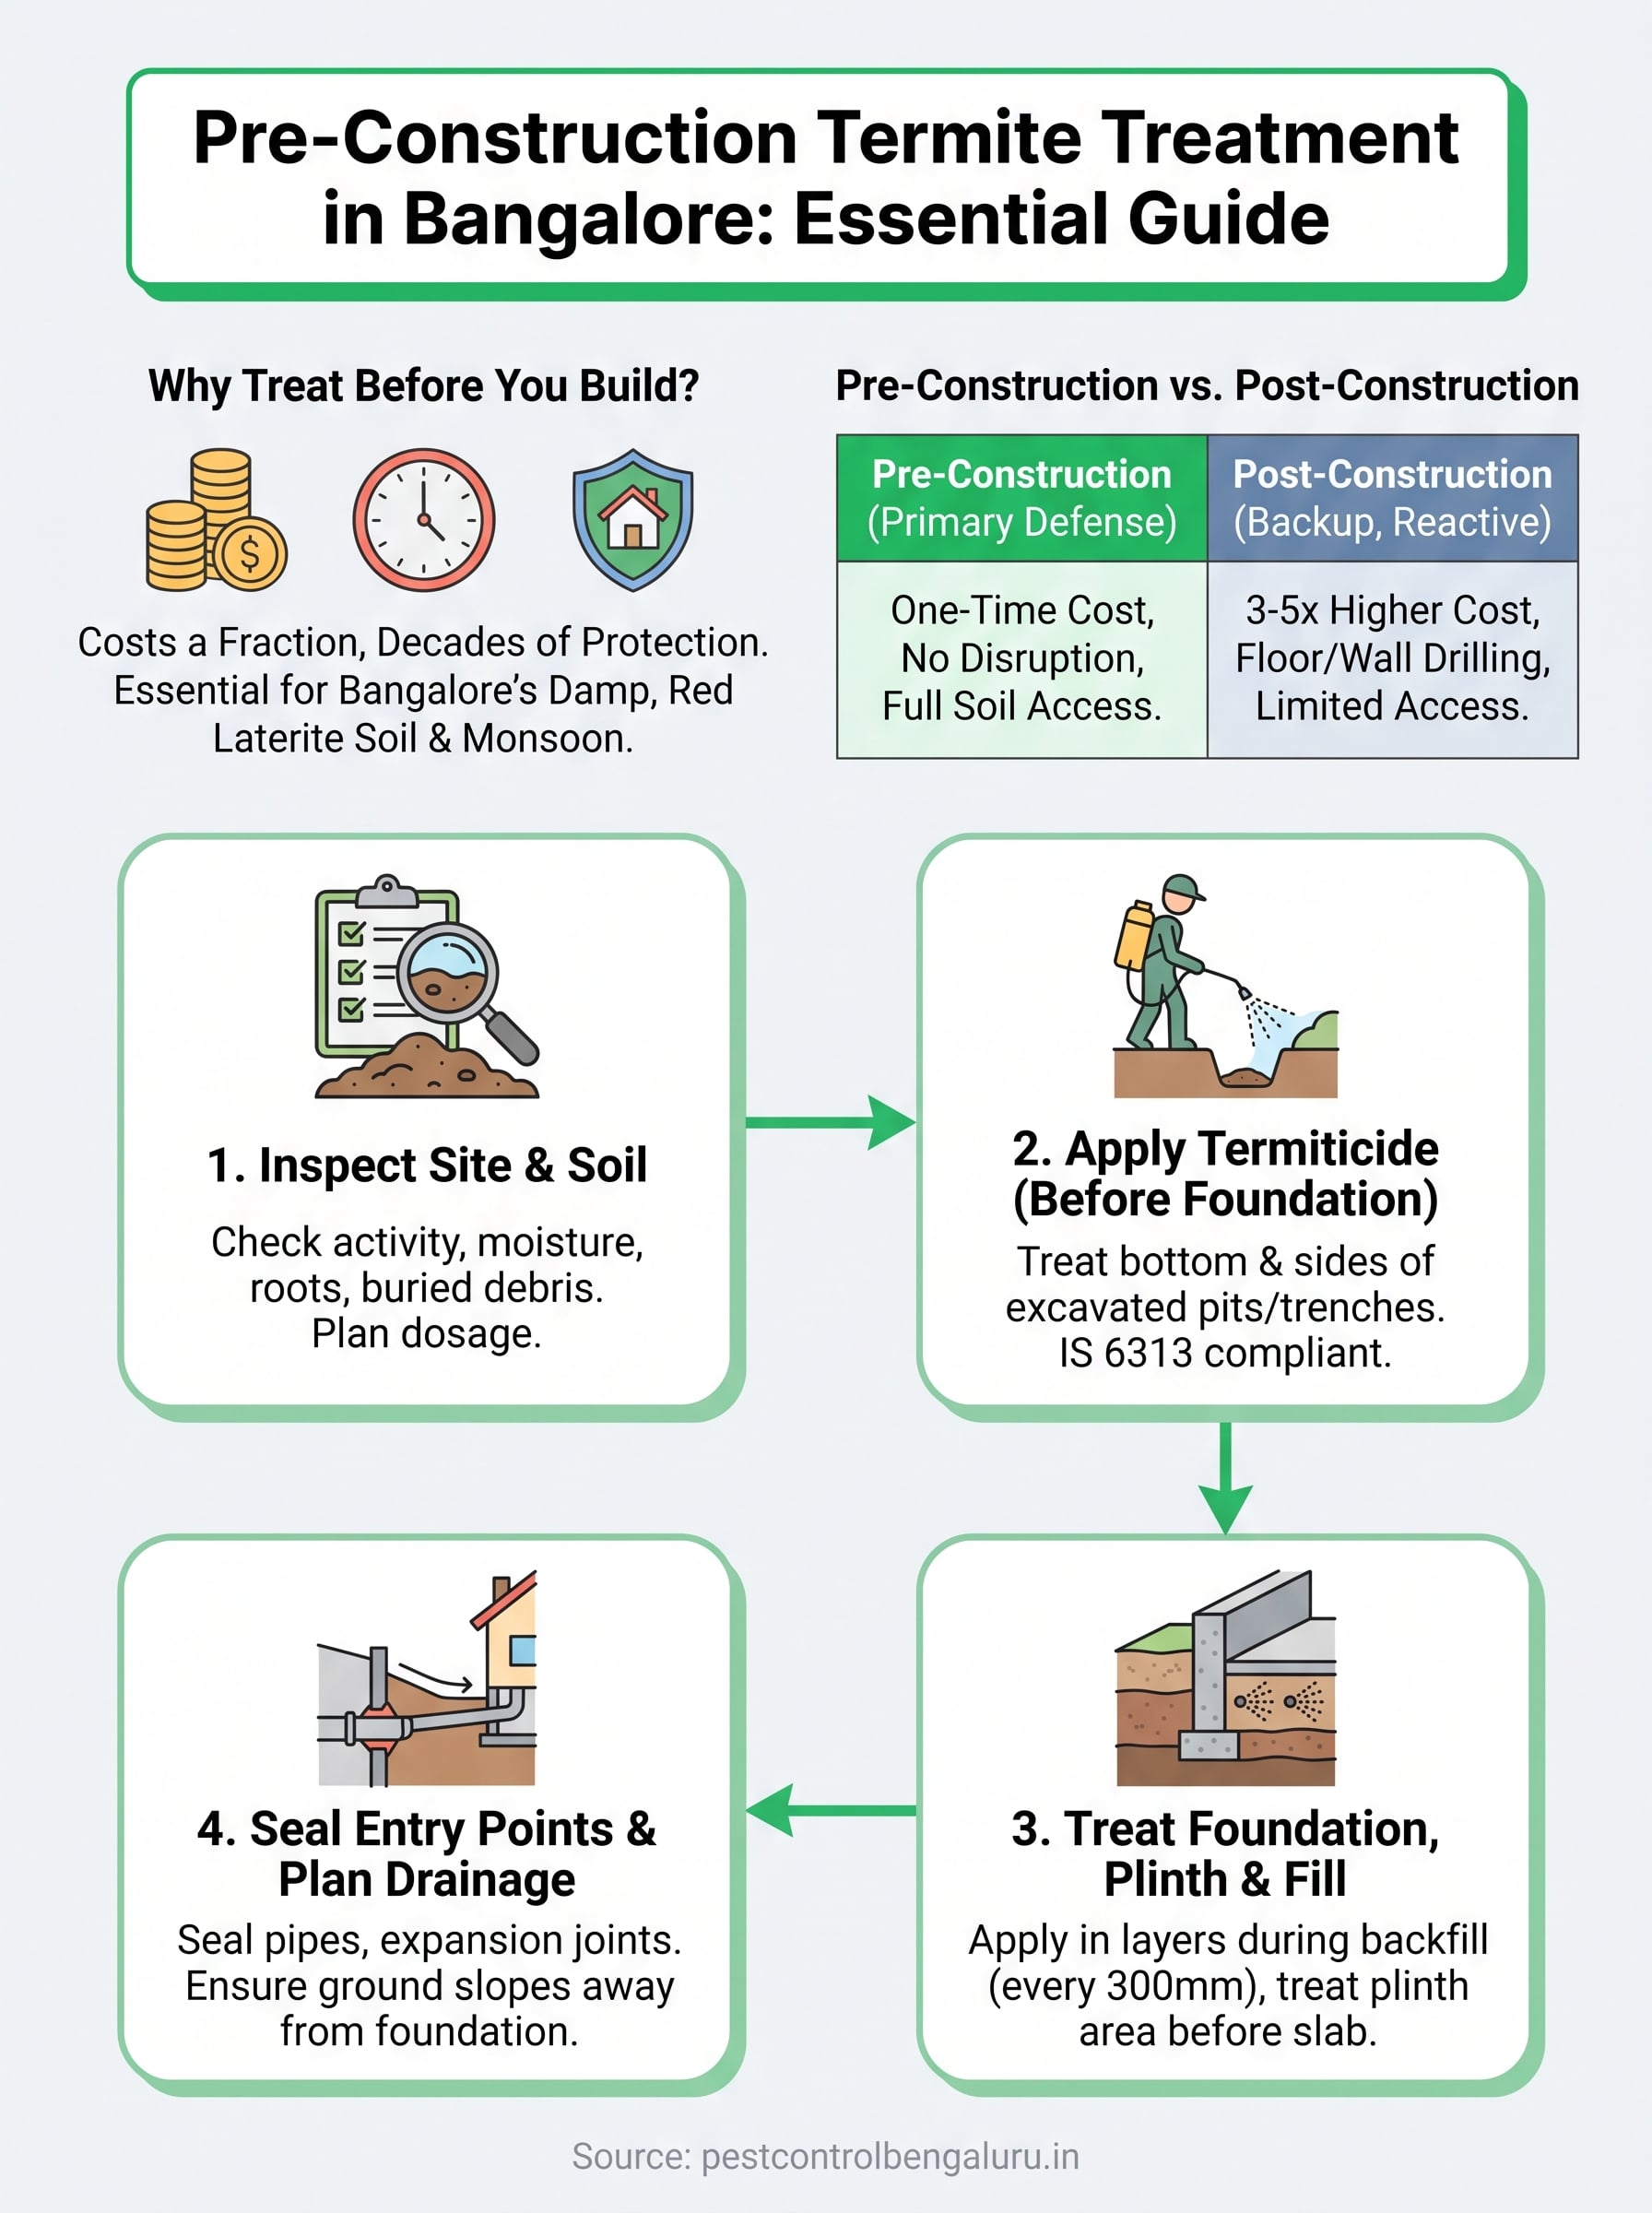
Building on a termite-free foundation
Getting termite treatment before construction right comes down to sequence and discipline: inspect the soil, treat every excavation before concrete goes in, layer the barrier as backfill rises, and seal every gap before flooring covers it up. Skip a step and you’re not saving time, you’re just moving the cost and disruption to a future date, usually with drilling and torn-up floors attached. Bangalore’s soil and monsoon pattern don’t leave much room for shortcuts here.
If you’re breaking ground on a new home or commercial site anywhere in Bangalore, get the soil treatment scheduled before your excavation starts, not after. We’ve been handling pre-construction termite treatment for builders and homeowners across the city since 1993, using IS-compliant methods matched to local soil conditions. Talk to our team about termite treatment services in Bangalore before you pour your first foundation, and build on ground that actually stays protected.